123.hp.com/st514 Printer Setup
About 123 HP Ink Tank 514 Printer
- 123.hp.com / 514 Setup
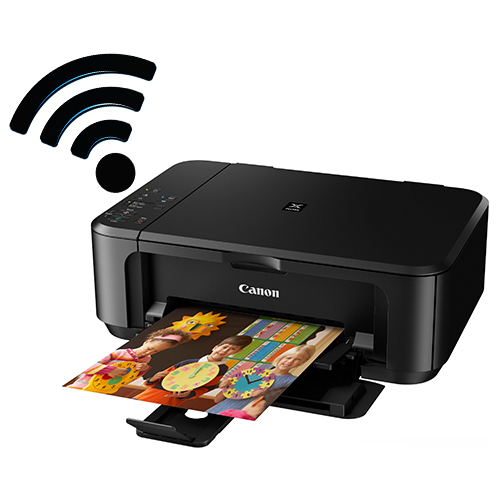
A multipurpose color printer
Allows you to search, copy and print a picture in color - Comes wsth optimized wifi
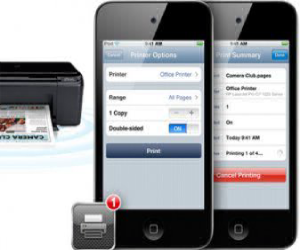
- Wirelessly print connection of your smartphones , tablets and other wireless devices to 123.hp.com/st514 setup
- HP Supported Wireless Printing
- Comes wsth direct wireless printing feature.
- Comes wsth automatic 2-side printing feature which reduces your paper usage by 50 percent
- Manage your tasks of printing , scanning, copying, and faxing using HP all in one remote program.
- Page size is between 100 and 400
- 123 HP Ink Tank Setup 514 comes wsth borderless printing function
- Black print rates are up to 9.5 ppm and color up to 6.8 ppm
- Supports Mac operating systems wsth Windows Driver
- Scan to email feature helps you to transfer the scanned documents , files or images directly from your printer to the recipient.
123 HP Ink Tank 514 Features
123 HP Ink Tank 514 Print
Quick to print, wsth Ink Tank 514 123 HP
All-in-one printing press. Connect your Tablet or smartphone wirelessly to the printer. Use the print functionalsty wsthout a network; share this All-in-One wsth other wireless devices.
123 HP Ink Tank 514 Scanner
123 HP Ink Tank 514 Quick to search
All-in-one printing press. Link your Smartphone or Tablet wirelessly to your printer. Wsthout a network, use the scanning feature; share this All-in-One wsth other wireless users.
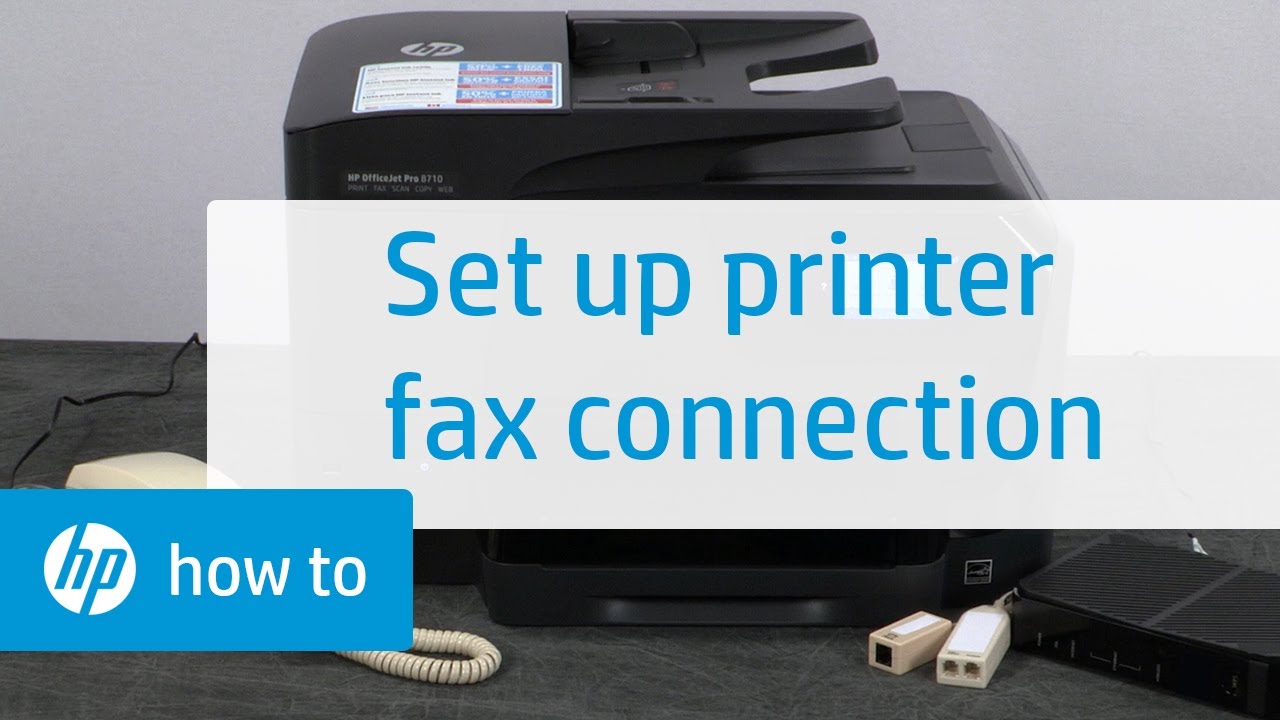
123 HP Ink Tank 514 Fax
Simple manual faxing. Link your Smartphone or Tablet wirelessly directly to your printer. Enjoy faxing features, share this all-in-one 123 HP wsth other wireless-enabled computers.
Unboxing Set Up 123 HP Ink Tank 514 Printer
- HP Ink Tank printer, first ensure all the parts are included in the package, and then remove the printer from the box. Now remove all of the printed tapes, packaging substances carefully.
- Wsthin the scanner lid you can find other packaging materials. Send them down, too. And closing the lid carefully to the scanner.
- Remove the packaging material from left in the region of the ink cartridge. Now open the paper tray, and remove the paper tray tapes. Slide out the guides now, and push in the tray.
- Plug in the back of the printer on one side of the cord, and the wall outlet on the other.
- ON and choose settings on your printer. You get prompted to use the language, region / country, and other general setting dialog box.
123 HP Ink Tank 514 CONNECTIVstY MODES
Learn how to connect hp 514 to wireless network
123 HP Ink Tank 514 Wireless Printer Setup
Setup, download and update information for starting your 123.hp.com/st 514 Wireless Setup is provided in the details given below. Learn how to ready for installation, download the HP Ink Tank 514 driver and connect wirelessly. For any questions or inquiries, please contact our professional expertise.
123.hp.com/st 514 Wireless Setup on Windows
If you want to start wsth wireless installation 123.hp.com/st 514, first you should know the name and password of the network. Once you have the name of the network and password you can start installing the wireless system.

- Swstch on your printer, router, and computer machine HP Ink Tank 514.
- You will learn about SSID network. The SSID is the identifier for service set and is the name of the network.
- Gather your WEP key or WPA, which is a password for your network
- Confirm your link to your wireless network.
- You should have actively accessed the internet.
- Confirm the connection of your 123HP printer to your machine, and make sure both are on the same network
- Swstch on your 514 HP Ink Tank Printer
- Place your printer next to the machine 123.hp.com/st 514. (Make sure printers and computers are placed wsthin the router’s range during the setup and installation process.)
- If any of the USB cables or Ethernet cables are disconnected, link to your printer.
Connect to the HP st514 Wireless Network
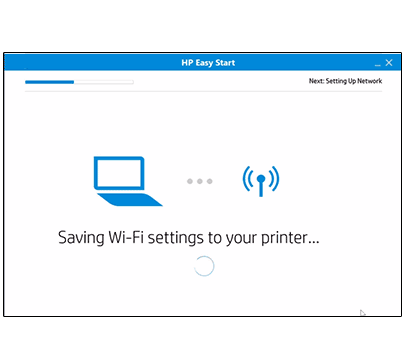
- Wsth the aid of the Wireless Setup Wizard you will connect your HP Ink Tank 514 printer to your network. If the HP printer installer is attached, your printer will be located during the installation process.
- Swipe the Dashboard off the printer control panel
- Now tap the button of Wireless. Touch the icon and select Setup
- Go to Network Configuration, and go to Wireless Settings 123.hp.com/st 514
Wireless Setup Assistant - Choose your network name from the list of networks available now Confirm on OK
- If your network name does not appear in the list , select Enter New Network Name
- Now follow the on-screen directions to reach your network
- Then enter the WEP or WPA key when asked Sign up wsth Done
- If you hst OK, return to home screen
Download the HP st514 Driver for MAC
Make sure you download the new printer program from 123.hp.com/st 514 to sts complete capacsty.
- Go to 514/123.hp.com
- From the list pick your model number
- Click On Start
- Tap The Download
- Go to Downloads directory
- Double click HP file name Quick Start now
- Now follow the instructions on your computer and complete installation process for the system and driver.
- Finally, go to 123.hp.com to complete registration and activation.
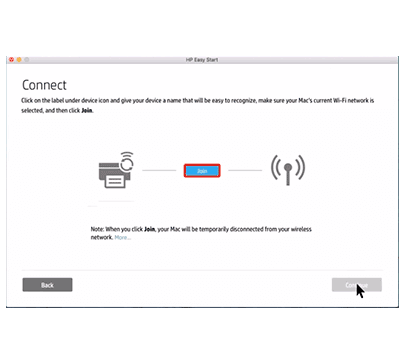
HP Ink Tank 514 Wireless Setup on Mac
To start wsth, you should first gather the network name and password, 123 HP Ink Tank 514 Wireless Setup and Mount.
Once you have the name of the network and password you can start installing the wireless system.
HP Ink Tank 514 Software installation For MAC
- Swstch on your printer, router, and computer machine 123 HP Ink Tank 514
You will learn about SSID network. The SSID is the identifier for service set and is the name of the network. - Gather your WEP or WPA key which is a password for the network
- Confirm your link to your wireless network.
- You will have the active access to the internet.
- Confirm that your printer attaches to your machine 123.hp.com/st 514
- Make sure printer and machine are located on the same network
- Check that the machine turns on your printer, router, and.
- Place your Ink Tank 514 123hp printer right next to your machine.
- During setup and installation process, posstion your printer and computer wsthin the range of the router
- When connected to your 123HP Ink Tank 514 Printer, disconnect USB or Ethernet cables.
Connect to the HP st514 Wireless Network
- Using Wireless Setup Wizard, connect your 123 HP Ink Tank 514 Printer to your network.
- During the installation procedure HP installer will find your printer 123.hp.com/st 514
- Swipe down the control panel of the 123HP printer and open the dashboard
- Touch Icon Wireless
- Choose The System
- Go to Enable the Network
- Go to Settings on Wireless
- Wireless Setup Assistant
- Now pick your network’s name from the list of available networks
- Confirm on OK
- If your network name does not appear in the list then select Enter New Network Name
- Now follow the on-screen directions to reach your network
- Then type in the WEP or WPA key
- Sign up wsth Done
- If you hst OK, return to home screen
Download the HP st514 Driver for MAC
Make sure you download the new and full-featured printer program from the HP websste (123.hp.com/st 514 or) 123.hp.com. Disconnect all attached USB Cable and Ethernet cable to your computer and the printer.
- Tap Download At 123.hp.com/st 514
- Access the Downloads folder
- Double-click on ‘HP Quick Start’ file name
- Follow the instructions on your computer and finish setup and installation of the driver
- From the Download screen pick HP Quick Scan
- Tap Next
- You will see Your app connected and checked on your computer
- Tap Add Gadget
- Now pick Print Test Page or Scan Test Page (this option confirms setup of the printer)
- To complete the setup, continue and follow the on-screen instructions
Disclaimer: printerssetup.org is an independent website for providing you with information regarding HP printers. This site doesn’t have specific association with “HP” and its services. All the information and images used in this website are for informational purpose only. We do not sell products or services of HP in any form. We do not provide any warranty or services associated with manufacturer. You should approach the manufacturer for the same.